
Maintenance & Prevention
Sub-Zero Door Gaskets: How to Clean Them, Test Them and Know When They Are Done
Clean refrigerator door gaskets two or three times a year with a mild detergent solution, opening out each fold rather than wiping the visible face. Test them with a sheet of paper: close the door on it and pull — if it slides out easily, the seal is not gripping at that point. Never use bleach, which hardens the rubber. Replace the gasket when it is torn, permanently flattened, or failing the paper test in several places.
The full guide
Why the cheapest part matters most
A door gasket is a strip of magnetic rubber. Set against a compressor, a control board or a sealed system, it costs almost nothing.
It is also the part whose failure causes the most other failures, and that asymmetry is the whole reason for this guide.
When a seal stops gripping, warm humid room air enters the cabinet continuously — not in the puff that comes with opening a door, but as a slow constant stream. Everything that goes wrong afterward follows from that:
- The unit runs longer and longer, and eventually does not stop at all
- Frost builds where it should not, because there is more moisture to freeze out
- Condensation forms around the door and inside the cabinet
- Mold finds the damp, which means the gasket itself, then the drain, then the pan
- The compressor accumulates runtime it never gets back
So a gasket does not fail on its own. It fails, and then six months later somebody calls about a refrigerator that never stops running, and nobody connects the two.
Gaskets are the part we replace most often in South Florida, and it is not close. Three things stack up here: the rubber ages faster in sustained heat, the humidity means every gap costs more than it would elsewhere, and the higher ambient temperature means more cycling, which means more of the flexing that wears a seal out. A gasket that would go eight or ten years in a temperate kitchen has a considerably shorter life here.
Step 1: open out every fold
Start with what a refrigerator gasket actually is, because most people clean the wrong part of it.
It is not a flat strip. It is a hollow folded profile with a magnet inside, and the folds create channels that stay dark and damp permanently. The face you can see when the door is open is the part that gets wiped; the inside of the fold is where everything collects.
Open each fold out with a finger and look. A gray film, black specks, or a dark line running along the inside is normal on a gasket that has not been cleaned in a year — and it is also what stops the seal sitting flat against the cabinet.
Step 2: clean with something mild
Warm water with a little dish detergent. A soft cloth, or an old toothbrush for the folds.
Work the entire run of every door and every drawer, not just the front edge where you can see. On a unit with a freezer drawer and a refrigerator door, that is two complete perimeters, and on a column pair it is more.
No bleach, no solvent-based cleaners, no abrasives. Bleach hardens the rubber and shortens the gasket's life substantially, which is a particularly poor outcome given that people usually reach for it because of mold — mold that was caused by the dampness a failing gasket lets in. You would be buying a few weeks of a clean-looking seal at the cost of the seal.
About petroleum jelly and oils. There is long-standing advice to soften a stiff gasket with petroleum jelly, mineral oil or similar. It does make the rubber feel supple for a while, and over a longer period it degrades it. If a gasket has hardened to the point where you are looking for a way to soften it, the honest answer is that it has reached the end of its life. Softening it is maintenance on a part that needs replacing.
Step 3: dry inside the folds
Not optional, and easy to skip.
A gasket you have just washed and left damp, in a Miami kitchen, is a gasket growing something within the week. Dry the face, then open the folds again and dry inside them. Leave the door open for a few minutes afterward.
Step 4: run the paper test
This is the part that turns cleaning into diagnosis, and it takes two minutes.
Take an ordinary sheet of paper. Close the door on it so that half is inside and half is out. Pull.
- Firm resistance, and the paper drags: the seal is gripping there.
- Slides out with almost no resistance: it is not.
Do it every few inches around the whole perimeter of each door and drawer. Write down where it fails — not just that it failed. The pattern tells you what kind of problem you have:
| Where it fails | What that means |
|---|---|
| One short section, everywhere else firm | Local damage, or debris under the seal |
| Along one whole edge | The door is out of square, or the seal has flattened along that run |
| The bottom of the door | Often the unit is not level |
| Several places all around | The gasket is at the end of its life |
A seal can also fail by being too tight. A door that is genuinely hard to open, or that resists for several seconds before releasing, is normal on a well-sealed unit — that is the slight vacuum as pressure equalizes. Do not treat that as a problem to fix.
Step 5: check the door, not just the seal
A gasket seals a door against a cabinet. If the door no longer meets the cabinet squarely, no gasket will fix it.
Three things to look at:
Is the unit level? A built-in that has settled, or a leveling foot that has worked loose, puts the doors out of square. This is the commonest reason a new gasket fails to solve the problem it was bought for.
Has the door dropped on its hinge? There is a full order of checks in a door or drawer that will not close. Look at the gap along the top and bottom edges when the door is closed. Even and parallel is right. Wedge-shaped is a hinge or an alignment problem.
Is something holding it open? A tall bottle on a door shelf, a container pushed too far back on a shelf, a freezer basket not pushing fully home. This accounts for more "failed seals" than actual failed seals do — and it is free to fix.
When cleaning is no longer the answer
Replace the gasket, rather than cleaning it again, when any of these is true:
- There is a tear or a split, anywhere. These do not heal and they grow.
- A section stays permanently flattened after the door opens, instead of springing back.
- The rubber has gone hard, and does not give when you press it.
- The paper test fails in several places around one door.
- There is frost or condensation around the door opening that returns after you have cleaned and dried everything.
- The unit is running far more than it used to and the condenser is clean.
Set against what it prevents, this is one of the least expensive repairs on the list — and one of the few where the case for doing it early is straightforwardly financial rather than precautionary.
What actually kills gaskets
Worth knowing, because most of it is avoidable:
- Bleach and solvent cleaners, covered above
- Heavy door shelves. A door loaded with bottles hangs on its hinges and puts a permanent distorting load on the seal along the hinge side. Heavy items belong on cabinet shelves.
- Doors held open while people decide, which in this climate is a real moisture load
- Sticky spills left to dry in the fold, which then tear the rubber when the door is opened
- Being cleaned once a decade, which is when the debris in the folds has already stopped it sitting flat
Two or three cleanings a year, a paper test while you are there, and heavy bottles kept off the door. That is the entire maintenance program for the part that protects everything else in the machine.
If it turns out to be a repair
What this leads to, and what it costs
Every job on this site is priced the same way: an on-site diagnostic first, the figure agreed in writing before anybody starts.
-
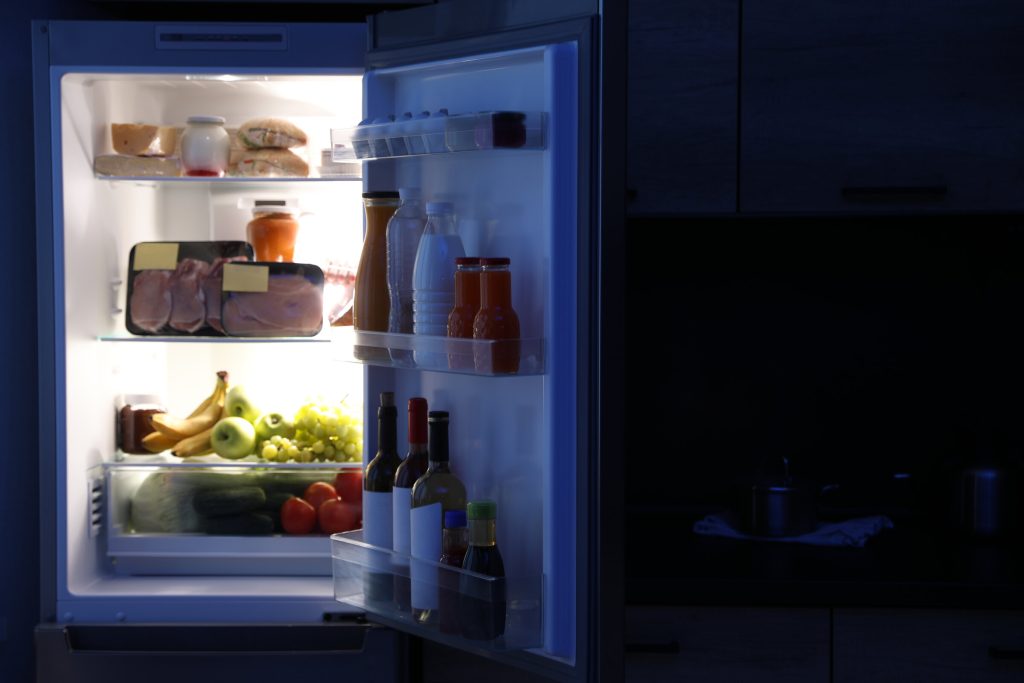
from $220 Door gasket replacement
The least expensive fix for a cabinet that will not hold its temperature. Worth checking before anyone opens the sealed system, because a tired gasket imitates far more expensive problems.
- Doors that no longer seal
- Condensation around the frame
- OEM gaskets on order
-
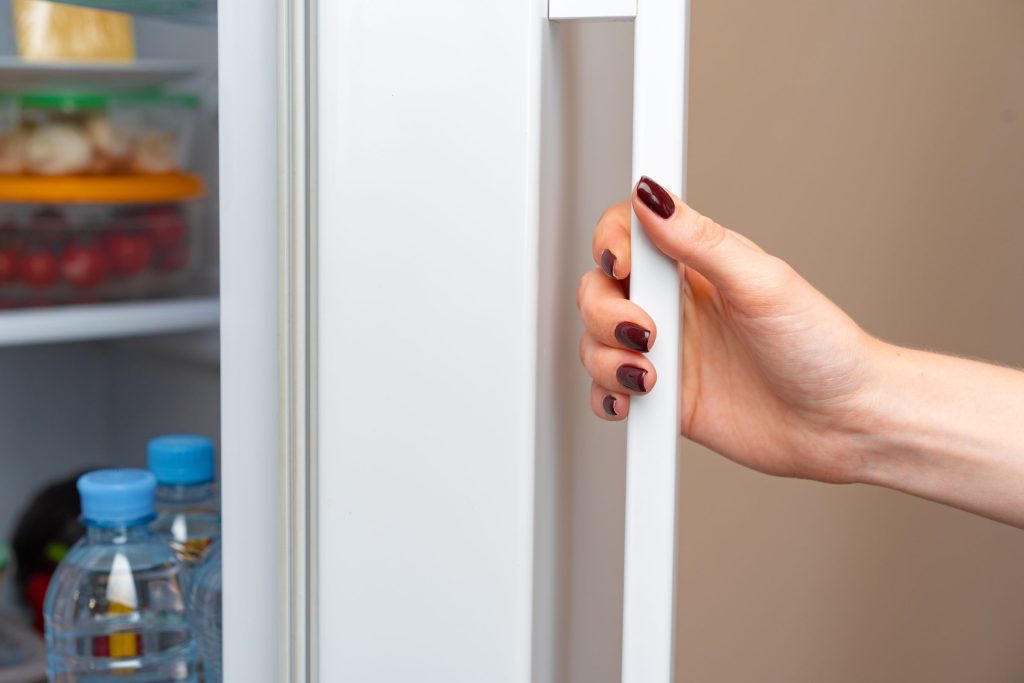
Gasket, alignment or hinge Door not closing or sealing
A door that does not sit square, a seal that has gone hard, condensation around the frame, or a panelled door that no longer lines up with the cabinetry.
- Condensation around the door frame
- A door that swings back open
- Panelled door out of line with the run
-
Priced after diagnosis Maintenance visit
In this climate condenser cleaning is seasonal rather than annual. A maintenance visit is the cheapest hour you will spend on a built-in unit, and it is how most sealed system failures get avoided.
- Condenser cleaned and airflow checked
- Door seals and drainage inspected
- Stored codes read and cleared

Questions people ask about this
How do I clean a refrigerator door gasket?
Open out each fold of the seal and clean inside it with warm water and a little dish detergent, using a soft cloth or an old toothbrush. The visible face is rarely the problem; the folds are where debris and mold collect. Dry it thoroughly afterward, including inside the folds. Do this two or three times a year rather than annually if you are in a humid climate.
How do I soften a hardened refrigerator door gasket?
You largely cannot, and this is worth being honest about. Advice about petroleum jelly or oils circulates widely; it makes a gasket feel supple for a short time and degrades the rubber over a longer one. A gasket that has genuinely hardened has reached the end of its life. What you can do is keep a healthy gasket healthy, by cleaning it and by not letting it be crushed by an overfilled door shelf.
How do I know if my refrigerator door seal is bad?
Use the paper test. Close the door on a sheet of paper and pull it out, repeating around the whole perimeter. Anywhere it slides out with almost no resistance is a place the seal is not gripping. Other signs: condensation or frost around the door opening, a section of gasket that stays flattened after the door opens, visible tears, and a unit that runs far more than it used to.
Can I use bleach on a refrigerator gasket?
No. Bleach attacks the rubber, hardens it, and shortens the gasket's life considerably. That matters more than it sounds, because a hardened gasket lets humid air into the cabinet — which causes exactly the mold and condensation that people reach for bleach to deal with. Mild detergent handles the cleaning, and dilute vinegar handles odor.
How long should a refrigerator door gasket last?
Longer than most of them do here. Heat, humidity and constant cycling age the rubber faster than in a temperate climate, and a door shelf loaded with heavy bottles adds mechanical stress on top. We replace gaskets more often than any other part, and a gasket that has been cleaned twice a year lasts noticeably longer than one that has not.
Maintenance & Prevention
More guides like this one
-

Sub-Zero Water and Air Filters: When to Change Them and How to Clear the Reminder
Two filters, two schedules, two different resets — and people confuse them constantly. What each one does, when it is actually due, and why the indicator light is not measuring anything.
Read more -
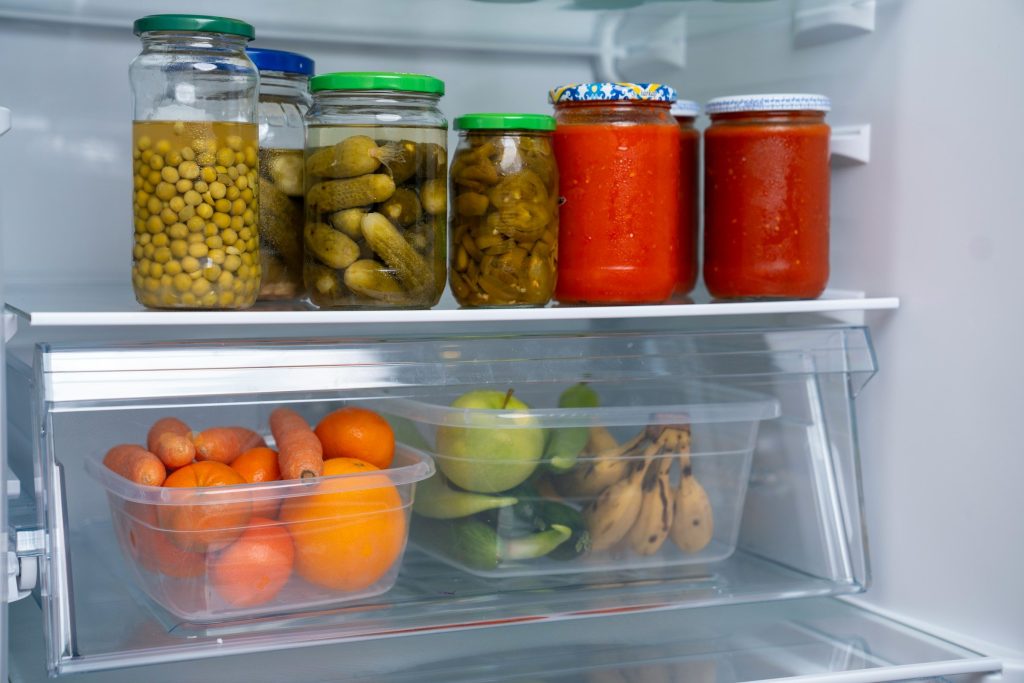
What to Set a Sub-Zero To, and Why Your Food Keeps Freezing
Two numbers everybody should know and almost nobody is told. Plus the reason lettuce freezes in a refrigerator that is set correctly — which is a placement problem, not a temperature one, and costs nothing to fix.
Read more -
How to Clean a Sub-Zero Condenser, and How Often to Do It in South Florida
Twenty minutes, twice a year, no tools you do not already own. The one piece of maintenance that prevents more expensive repairs than everything else combined — and why the interval in the manual is too long for this market.
Read more
Tell us the model number and what it is doing.
This article is based on:
- Official manufacturer documentation
- Internal repair procedures
- Technician repair history
- Company quality standards