
Troubleshooting
How to Defrost a Sub-Zero Properly, and When Defrosting Is the Wrong Answer
Empty the freezer, switch the unit off at the control panel, leave the doors open and let the ice melt on its own, with towels down to catch the water. It takes several hours to a day. Never use a sharp tool, boiling water or a hair dryer. Most importantly: a Sub-Zero defrosts itself, so if you have to do this by hand, the defrost system or the door seals need attention — otherwise the ice returns on the same schedule.
The full guide
Read this before you start
Your refrigerator is designed to defrost itself.
Several times a day it stops cooling, warms a heater next to the evaporator coil, melts off the frost that has accumulated there, and sends the meltwater down a drain to a pan near the compressor where it evaporates. That is what frost-free means, and it is why a manual defrost is not on the maintenance calendar for this equipment.
So if you have arrived here because your freezer needs defrosting by hand, the useful thing to understand first is that this is a symptom, not a chore. Something has stopped that automatic cycle from completing, or something is letting in far more humid air than the cycle was designed to handle.
Defrosting it manually is still worth doing — it will restore normal cooling for a few weeks and it is genuinely useful if you need to get through a weekend or a holiday. Just do not mistake it for a repair.
Step 1: empty it into a cooler
Everything comes out. A cooler packed reasonably full with ice packs will hold frozen food safely for the length of this job, and a full cooler holds temperature far better than a half-empty one.
If your unit runs two separate refrigeration systems — and many do — you can usually leave the refrigerator side running and move only the freezer contents. Worth checking before you empty the whole machine.
Step 2: switch the freezer off
At the control panel. You are not trying to isolate the unit electrically here, just to stop it cooling while you melt the ice out of it.
Step 3: towels down, doors open
Lay towels along the base of the compartment and across the floor in front of the unit, and be more generous than you think you need to be. A heavy build-up holds a surprising amount of water and it does not arrive gradually — a sheet of ice releases from the wall and delivers most of it at once.
On a built-in this matters more than usual, because what is in front of the unit is often stone or hardwood that was expensive to lay, and there is cabinetry either side of it.
Then leave the doors and drawers open.
Step 4: let it melt
The honest instruction here is: wait.
The one thing worth adding is heat that cannot do damage. Put a bowl or two of hot water inside, on a trivet or a folded towel rather than directly on a shelf, and replace the water as it cools. The steam does a lot of the work and there is no way for it to go wrong.
What never to use, and why each one is worse than it sounds.
Anything sharp. A screwdriver, a knife, an ice pick, a chisel. Directly behind the back panel of the freezer is the evaporator: soft aluminum tubing with refrigerant inside it under pressure. Punch a hole in it and a defrost problem becomes a sealed-system repair, which is one of the largest figures on our price list. This is the single most expensive mistake an owner can make with a frosted freezer, and it is made every year.
A hair dryer or a heat gun. It warps and melts the plastic liner long before it clears thick ice, and it is a mains appliance producing water in an enclosed space.
Boiling water poured onto ice. Thermal shock on plastic and on glass shelves.
Salt, chemicals, or anything corrosive. In a food compartment, on aluminum.
Step 5: clear the drain while you are there
With the compartment empty, warm and accessible, this is the best chance you will get.
The defrost drain carries meltwater out of the cabinet, and it blocks — with a biofilm that grows over months, or with a plug of ice. A blocked drain is itself a common cause of the ice you are currently removing, because meltwater that cannot get away refreezes on the next cooling cycle, layer after layer.
If your model gives you access to the drain opening in the freezer floor, flush it with warm water. A turkey baster is the usual tool.
Never push anything rigid into the drain tube. It is soft, it curves out of sight immediately, and it runs past components you cannot see. A wire coat hanger has ended more refrigerators than any other household tool.
Step 6: dry it and restart
Dry every surface, including inside the folds of the door gaskets. Then switch it back on and give it time to come down to temperature before you reload it — several hours is reasonable.
Putting frozen food back into a cabinet that is still at room temperature undoes part of what you just did and makes the unit work hard from a standing start.
Step 7: then find out why
This is the part the rest of the internet leaves out, and it is the part that decides whether you are doing this again in a month.
Write down the date. Genuinely — it is the most valuable piece of diagnostic information you can collect, and it costs nothing.
Then look at the two things that cause this:
The door seals. Test each one with a sheet of paper: close the door on it and pull. If it slides out with no resistance, that section is not gripping, and humid room air has been streaming into a cold cabinet continuously. In this climate, that alone will produce visible ice.
The defrost system. A heater, a sensor and a control. If any of them has stopped, frost builds on the coil unchecked and no amount of manual defrosting changes that.
The date tells you which:
| What happens next | What it means |
|---|---|
| Ice back within a few weeks | The defrost system — needs a technician |
| Ice back in a few months | A seal or an airflow problem, likely fixable |
| Ice does not return | Whatever you fixed was the cause |
"Where was the ice" is the other half of the answer. Ice on the back wall of the freezer points at the defrost system. Ice around the door opening or the ceiling points at air getting in. A sheet of ice under the freezer floor points at the drain. Those three go to three different repairs, and you can tell which you had while it is still in front of you.
Humidity is the reason this happens more here than the manuals expect. Every door opening admits room air, and room air in South Florida carries a great deal more moisture than the national average that the design intervals assume. That extra moisture is precisely what the defrost cycle exists to remove — so a marginal defrost system that would go unnoticed for years in a dry climate produces visible ice here within a season. It is also why door seals matter more here than in a dry climate: the cost of a gap is higher.
When to stop and call
- The ice is back within weeks of a full manual defrost
- There is ice you cannot melt without a tool, on the back panel
- The freezer is holding while the refrigerator has gone warm — a classic sign of a coil packed with ice on a dual-system unit
- You can hear a fan striking something inside the freezer
- The unit is running constantly as well as icing up
None of those are emergencies tonight. All of them are things that get more expensive with each month, because a compressor running continuously to push cold air through a blocked coil is accumulating wear in service of a part that costs a fraction of it.
If it turns out to be a repair
What this leads to, and what it costs
Every job on this site is priced the same way: an on-site diagnostic first, the figure agreed in writing before anybody starts.
-
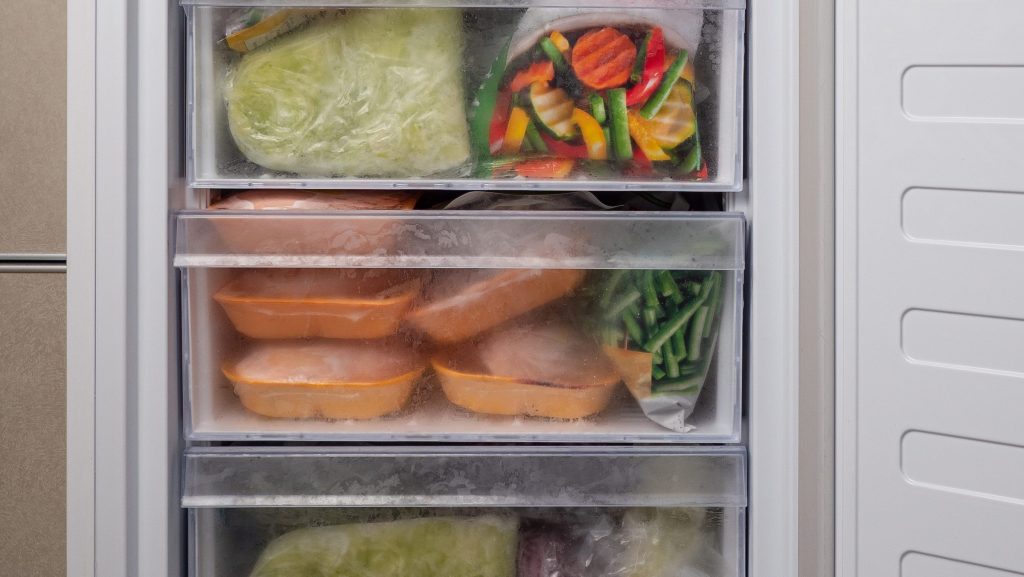
Frost, or not cold enough Freezer not freezing
A freezer running warm, frosting heavily, or holding a temperature that looks right on the display and is not right in the drawer.
- Ice cream soft, everything else fine
- Heavy frost on one shelf
- Display reads correctly, contents say otherwise
-

from $650 Evaporator replacement
Usually follows a sealed system diagnosis. Heavy frost on one shelf, a zone that will not hold, or a defrost cycle that never quite finishes are the symptoms that lead here.
- Frost build-up on a single zone
- Defrost heater and thermistor checked with it
- Access planned before we arrive
-
from $95 Diagnostic visit
We read the active and stored codes on site, then test the sealed system and the airflow before saying anything about the repair. The fee is credited toward the work when you go ahead.
- Active and stored codes read on site
- Sealed system and airflow tested
- Credited toward the repair

Questions people ask about this
Does a Sub-Zero need manual defrosting?
No. These are frost-free units: several times a day they stop cooling, warm a heater beside the evaporator coil, melt the frost that has built up, and drain the water away to a pan near the compressor. You are not meant to ever see it happen. A unit that needs defrosting by hand has something wrong with that cycle, or is taking in far more humid air than it should.
What is the fastest safe way to defrost a freezer?
Switch it off, open the doors, and place a bowl or two of hot water inside on a trivet, replacing the water as it cools. That is genuinely the fastest method that carries no risk. Everything faster — hair dryers, heat guns, scrapers, boiling water poured directly on ice — risks the plastic liner or the evaporator behind it, and both of those repairs cost more than the time you saved.
How long does it take to defrost a freezer?
Several hours for a light build-up, up to a full day for a heavy one. Plan for it to take longer than you expect and start in the morning. Do not be tempted to hurry the last of it with a tool — the final stubborn ice is usually against the back panel, which is precisely where the evaporator is.
Can I use a hair dryer to defrost my freezer?
Please do not. It is the most common suggestion online and it does two bad things: it melts and warps the plastic liner long before it clears thick ice behind it, and it is a mains appliance being used to make water in an enclosed space. If you want to add heat, use bowls of hot water, which cannot exceed a safe temperature and carry no electrical risk.
The ice came back a month later. What does that mean?
It means the manual defrost treated the symptom and the cause is still there. Ice that returns on a schedule points at the defrost system — the heater, the sensor, or the control that runs them. Ice that stays away after you have fixed a door seal points at the seal, which you have now dealt with. That difference is the single most useful piece of diagnostic information you can gather.
Troubleshooting
More guides like this one
-

Sub-Zero Ice Maker Not Making Ice: the Checks to Run Before You Book Anyone
A good share of these end without anybody coming out. Seven checks in about twenty minutes, in the order that eliminates the most for the least effort — and the three findings that mean stop and call.
Read more -
Sub-Zero Door or Drawer Not Closing: Six Checks, in Order
The order matters more than the list. Start with the two checks that cost nothing — what is on the shelf, and whether the unit is level — because between them they account for most of the doors we are called out to look at.
Read more -

Sub-Zero Condenser Fan Not Running: What to Check Before Anyone Comes Out
The condenser fan is reachable from the front through the grille, which makes this one of the few checks an owner can genuinely complete. It is also the fastest route from a modest repair to a compressor, which is why it is worth an evening.
Read more
Tell us the model number and what it is doing.
This article is based on:
- Official manufacturer documentation
- Internal repair procedures
- Technician repair history
- Company quality standards